Did your new BE Pro Backdrop Stand just arrive at your doorstep? Are you ready to try it out ASAP? Below are step-by-step instructions for setting up our BE Pro Backdrop Stand so that you can get to the fun part: Photographing!

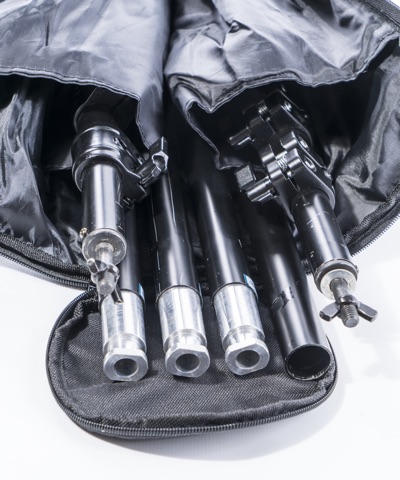
Step 1: Lay components out on the ground. There will be 6 separate pieces in your carry bag: two upright stands and 4 crossbar sections.
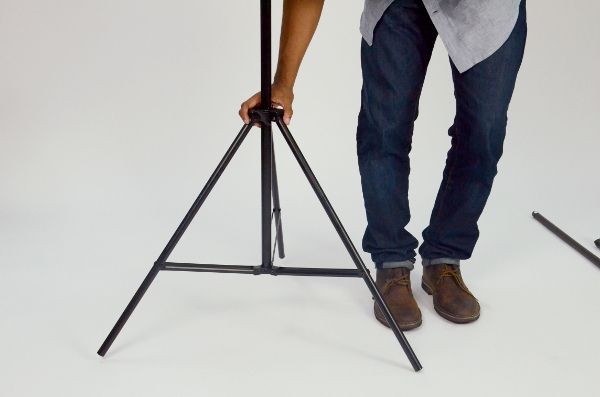
Step 2: Set up first upright stand. Twist the wingnut at the top of the legs to loosen it. Push legs out slightly and raise the center stand. While raising the center stand, push stand legs down to open fully.
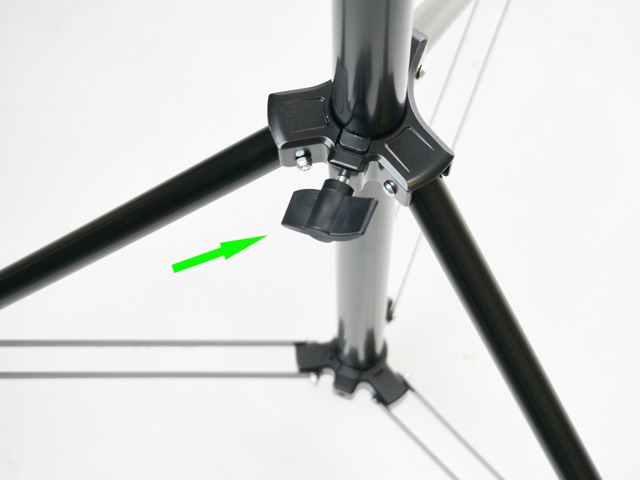
Step 3: Tighten the wingnut to secure the legs.
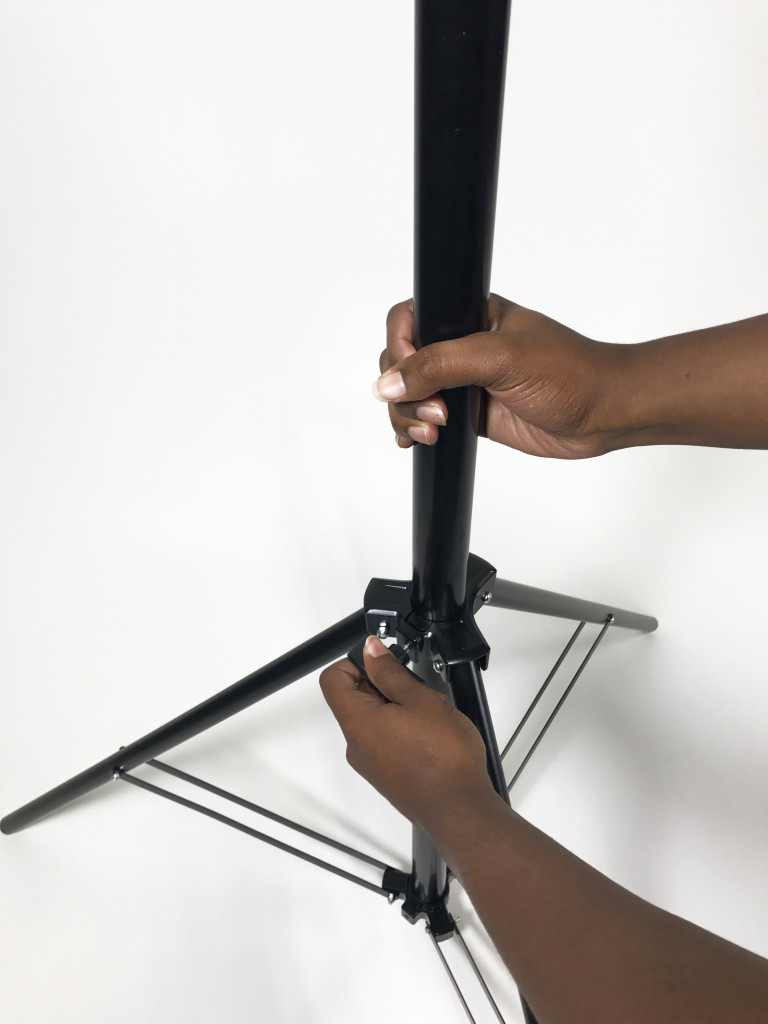
Step 4: Next, loosen the wingnut located on the middle upright stand to raise its height. Tighten the wingnut when at the desired height to secure it. Another wingnut is also located at the top of the upright stand, for extra height increase if desired. Repeat Steps 1-3 for second upright stand.
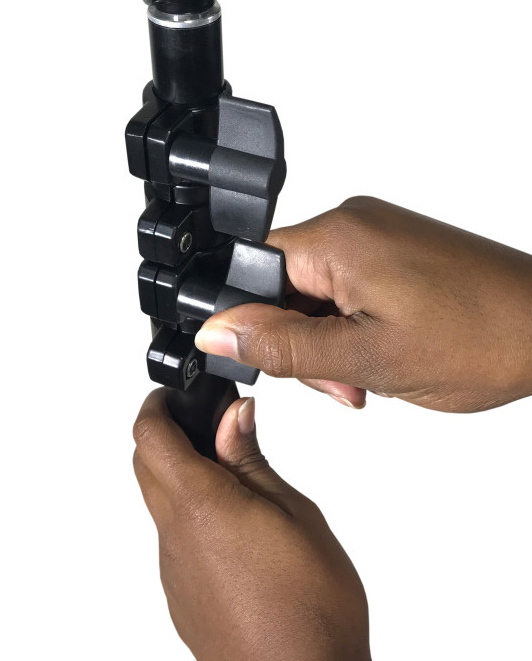
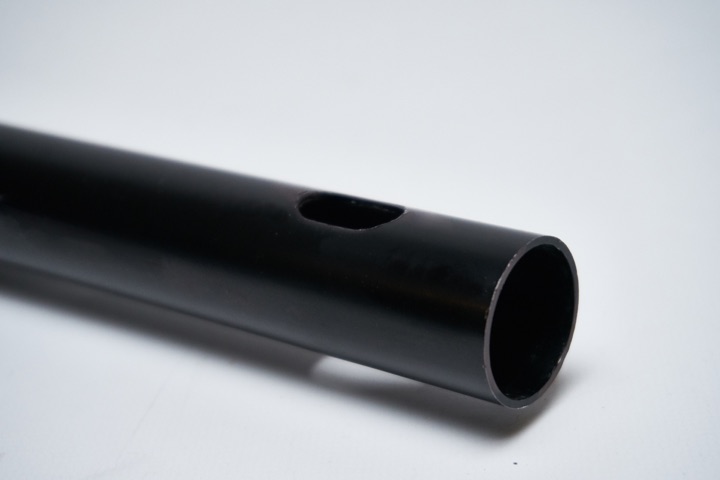
Step 5: Assemble the crossbars by first identifying the two rods that connects to the stand. They will have an oval hole near the end piece.
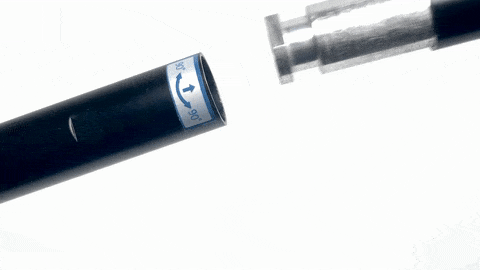
Step 6: Insert a crossbar into the opposite end of the end piece pictured above. Take note of the indentions on the rods. These secure the two pieces together. Gently rotate the crossbar while you insert them. Once it's all the way in, you should see the two markers line up. This indicates the bars are locked and is ready to be mounted on the stand.
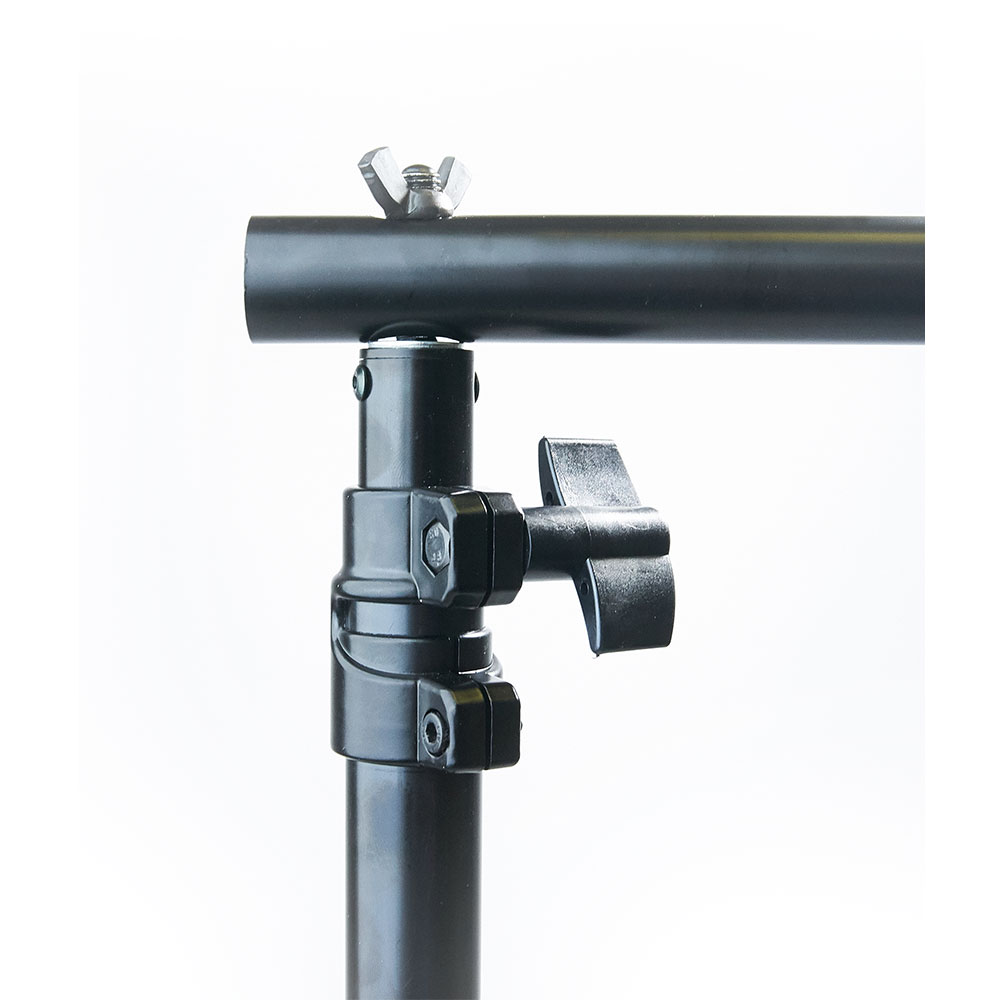
Step 7: Before placing the cross bar onto the upright, unscrew the wingnuts.
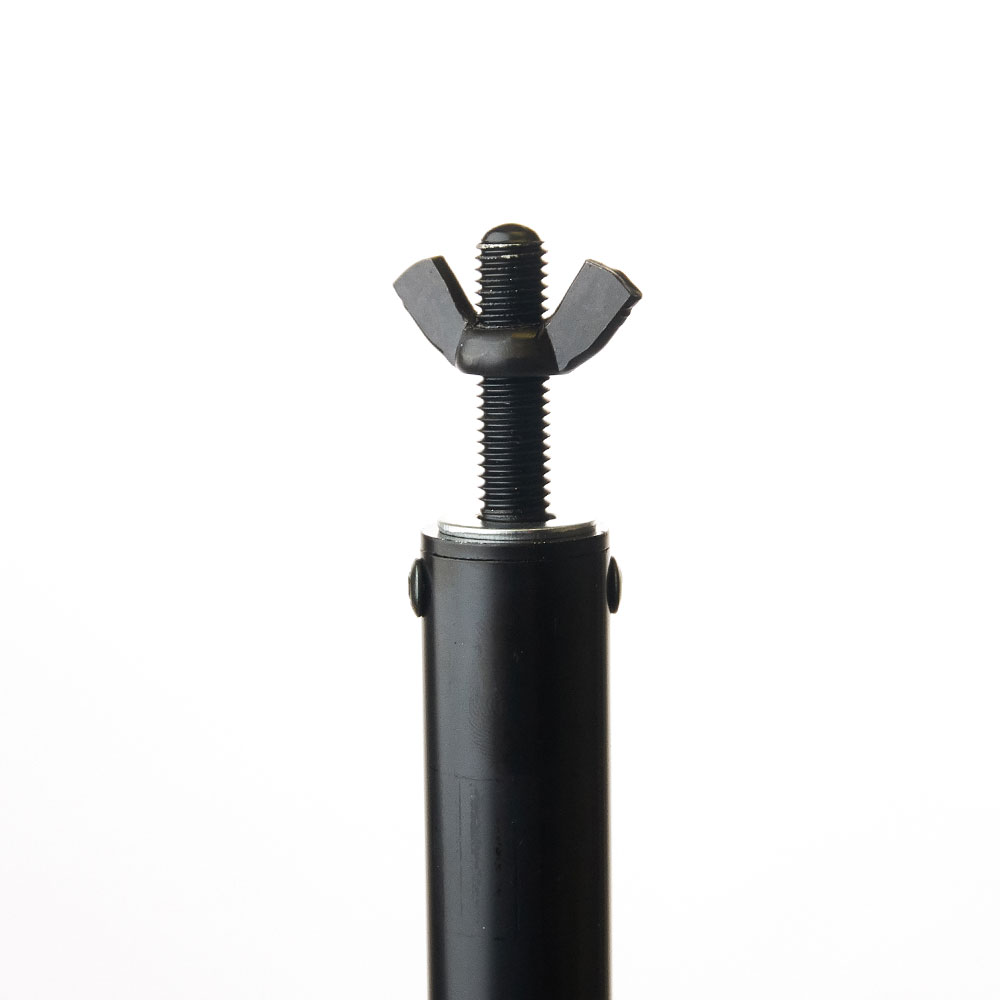
Step 8: Next, take the horizontal crossbar and line it up with each upright stand. Lower the bar onto the metal rods located at the top of each stand. Tighten the wingnuts on the crossbar to secure it to the upright.
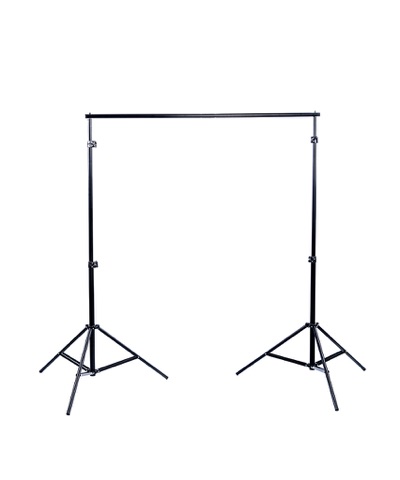
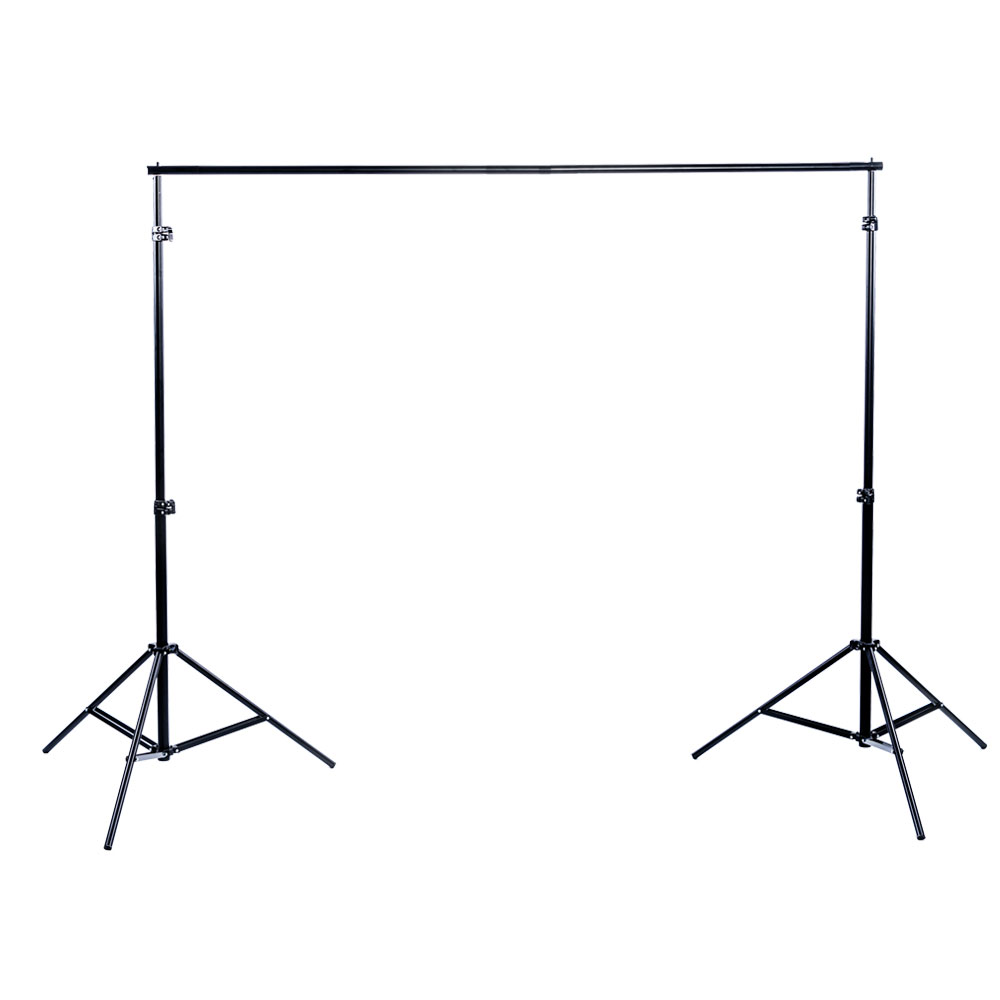
Step 7: Depending on the size of the backdrop you are hanging, you do not need to use all 4 crossbars. For example, you can use 2 pieces if you have a smaller backdrop. Pictured below are two setups with 2 Crossbars and 3 Crossbars. If you have a wide backdrop, you may use all 4 pieces. For extended wide size backdrops, we recommend using our BE PRO Wide Backdrop Stand.
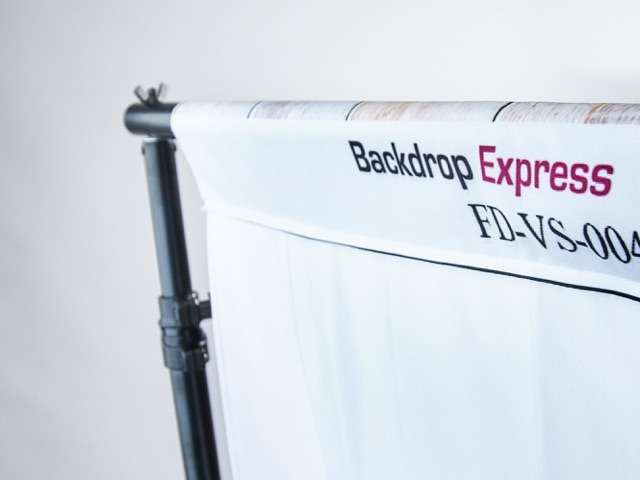
Step 8: Once you have the backdrop stand positioned how you like it, you can install the backdrop on to the crossbar. Some backdrops such as vinyl, canvas or poly paper do not have a sewn in hem pocket. You will have to use a clamp to attach those to the crossbars.

Comments
0 comments
Please sign in to leave a comment.